Pasting Guide
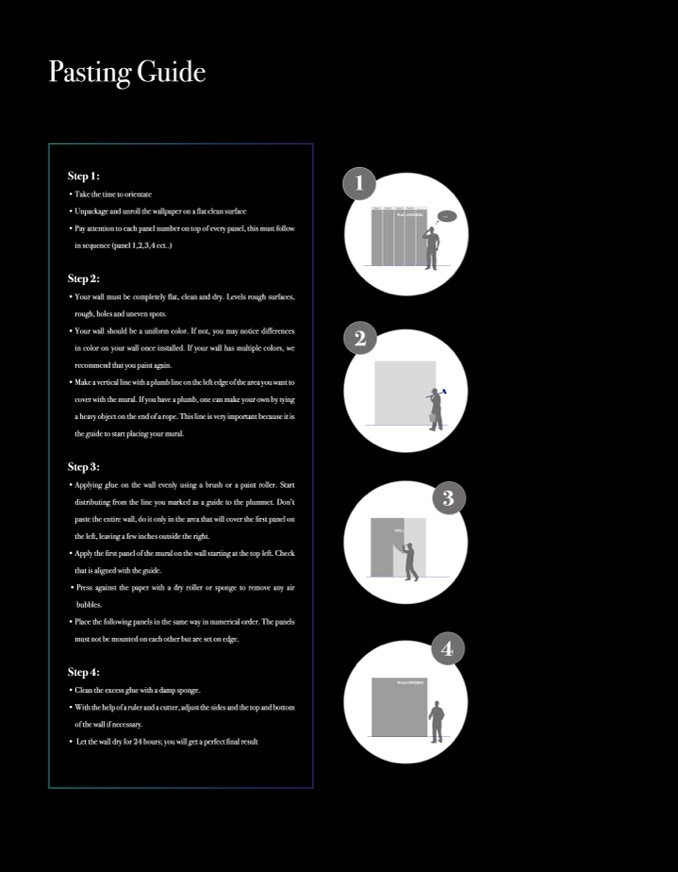
Step 1:
• Take the time to orientate
• Unpackage and unroll the wallpaper on a flat clean surface
• Pay attention to each panel number on top of every panel, this must follow
in sequence (panel 1,2,3,4 ect..)
Step 2:
• Your wall must be completely flat, clean and dry. Levels rough surfaces,
rough, holes and uneven spots.
• Your wall should be a uniform color. If not, you may notice differences
in color on your wall once installed. If your wall has multiple colors, we
recommend that you paint again.
• Make a vertical line with a plumb line on the left edge of the area you want to
cover with the mural. If you have a plumb, one can make your own by tying
a heavy object on the end of a rope. This line is very important because it is
the guide to start placing your mural.
Step 3:
• Applying glue on the wall evenly using a brush or a paint roller. Start
distributing from the line you marked as a guide to the plummet. Don’t
paste the entire wall, do it only in the area that will cover the first panel on
the left, leaving a few inches outside the right.
• Apply the first panel of the mural on the wall starting at the top left. Check
that is aligned with the guide.
• Press against the paper with a dry roller or sponge to remove any air
bubbles.
• Place the following panels in the same way in numerical order. The panels
must not be mounted on each other but are set on edge.
Step 4:
• Clean the excess glue with a damp sponge.
• With the help of a ruler and a cutter, adjust the sides and the top and bottom
of the wall if necessary.
• Let the wall dry for 24 hours; you will get a perfect final result
1
2
3
4
Panel 1
Panel 2
Panel 3 Panel 4 ...
WALL COVERING
...
WALL
WALL COVERING
